JMP Public is your platform for sharing JMP data, visualizations and dashboards. Prepare your reports in JMP and then publish them to JMP Public.
JMP Public offers the visual interactivity of JMP to explore your data, and lets you:
- Store all of your reports in one location.
- Maintain up-to-date reports, dashboards and visualizations in an easily accessible location.
- Extend the functionality of JMP Public reports to other locations. You can embed and interact with your JMP Public reports in web pages, blogs, social media posts and more.
In this blog post, we will discuss a couple ways to publish your reports to JMP Public. We won’t actually browse the reports on JMP Public in this blog post (although you can explore them right now!), so most of our work will take place in JMP. If you want to learn about using JMP Public, read my previous blog post.
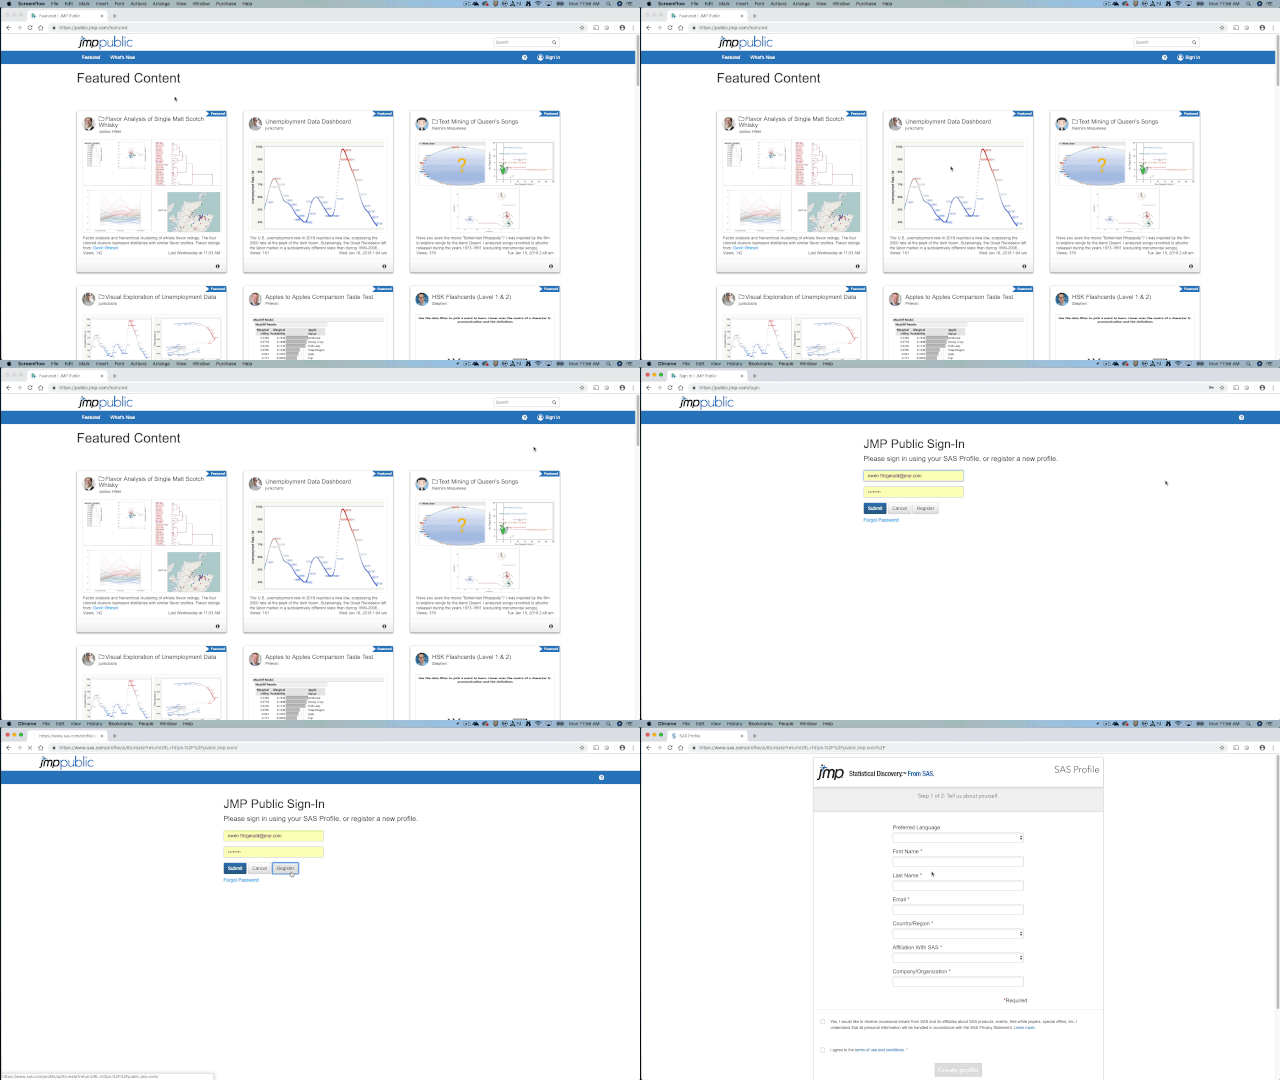
Starting with JMP 14.2, JMP users can publish their reports to JMP Public. Before we dive into JMP to do this, let's ensure you have a JMP Public account. Simply follow the steps below to create your account.
- Navigate to public.jmp.com.
- Register for an account using your SAS Profile.
- If you do not have a SAS Profile, please create one when prompted.

Publishing a report
Now that you have created a JMP Public account, you can begin to publish to JMP Public. To do so, you first need to create a report in JMP. As an example, I will use public data available from the World Health Organization. After building your graph in JMP, follow these steps to publish your results to JMP Public.
- With the report open, go to File > Publish.

2. In the dialog box that opens, select the report and Publish to JMP Public.
3. Customize your report, adding a title and a description as needed and Publish.
Note: The first time you Publish to JMP Public, an alert will pop up. Please read and understand this message before continuing.

When JMP automatically opens your web browser, you can see that your report was successfully published to JMP Public.
Replacing a previously published report
Suppose you would like to replace any of the reports you already have published -- no problem. I'll show you how to edit your report to contain new data. Once you are done, you simply publish the modified report to JMP Public in a similar way to the original
- With the reports open, go to File > Publish.
- In the dialog box that opens, select the report and Publish to JMP Public.
- Customize your report, adding a title and a description as needed and Replace.

Publishing a collection of reports
Finally, one of the features in JMP Public is the ability to publish a collection of reports, which will be bundled together and given an index page on JMP Public, making them easy to navigate and view together. Publishing a collection of reports is as simple as the publishing I have already covered:
- With the reports open, go to File > Publish.
- In the dialog box that opens, select the reports and Publish to JMP Public.
- Customize your reports, adding titles and descriptions as needed and Publish.

Now that you have seen some of the ways you can publish to JMP Public, you are ready to post to this new space. We are excited to see what you publish to JMP Public starting with JMP 14.2, which was just released. If you would like to learn more about using JMP Public, check out my previous blog post on Using JMP Public, and be on the lookout for more information to come about JMP Public.
You must be a registered user to add a comment. If you've already registered, sign in. Otherwise, register and sign in.