JMP Clinical offers multiple ways to share report results, from static reports to an in-product review viewer. New to JMP Clinical 8 is the ability to publish these results to JMP Live.
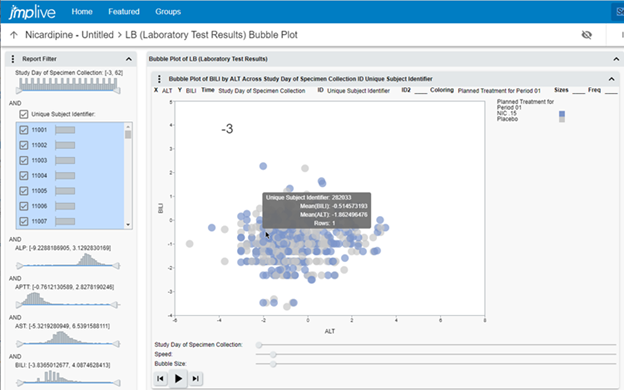 Findings Bubble Plot in JMP Live.
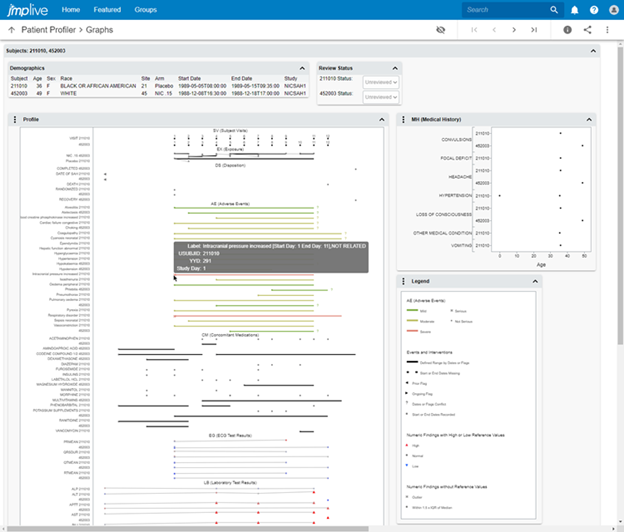 Patient Profiler in JMP Live.
Since clinical data analysis and review are collaborative efforts, it is important that generating the analysis and sharing the results are both secure and convenient. JMP Live is the ideal platform for users to interactively explore the results of a JMP Clinical analysis from a web browser.
Once your site administrator has prepared a JMP Live instance, publishing results to JMP Live involves little more than a couple of mouse clicks. Let’s see how easy it is.
First, generate or open some JMP Clinical results. Do any of the following:
- Run a single report in Review Builder.
- Run an entire review in Review Builder.
- Open a saved review through Review Viewer.
- Run Patient Profiler.
Second, click the Create Live Report button. Note that for Review Builder or Review Viewer, this button can be found at both the report level (to publish a single report) and at the review level (to publish an entire review).
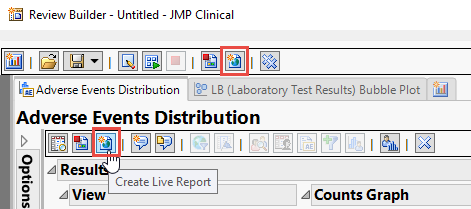 The Create Live Report button can be found on the report and review toolbars in Review Builder.
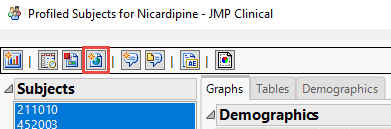 The Create Live Report button can also be found on the Patient Profiler toolbar.
The Create Live Report dialog is surfaced.
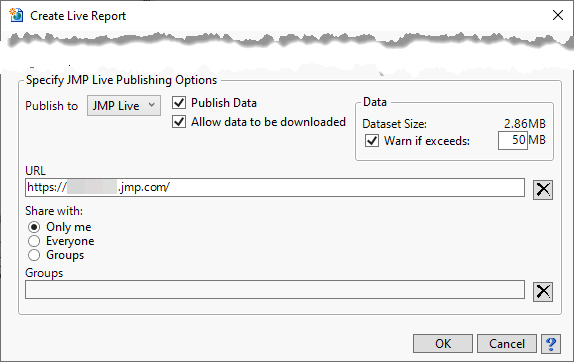 The Create Live Report dialog.
Click Publish to JMP Live to allow for maximum interactivity, server-side recomputing power, and sharing. Click Publish to File to save a less interactive copy to your machine alone.
Clicking Publish Data sends a copy of underlying JMP data tables to JMP Live, which is recommended for maximum interactivity.
With Allow data to be downloaded, JMP Live users can download the data tables and scripts.
By checking Warn if exceeds: and specifying a value, JMP Clinical will warn you if the estimated data set size sent for publishing exceeds a size of your choice. This feature helps you avoid unnecessary publish attempts if your JMP Live administrator has specified a maximum package size that is smaller than the sum of data set sizes that you are attempting to publish.
Specify a URL to the JMP Live instance.
You can choose to Share with: Only me (yourself), Everyone at your organization who has access to JMP Live, or only specific Groups of JMP Live users at your organization.
Note that the settings in this dialog are retained for the next time you click Create Live Report.
Click OK to publish to JMP Live.
A notification window appears, indicating if the operation was successful.
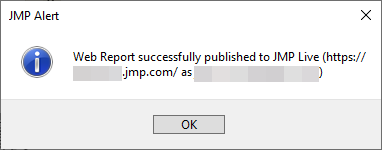 Notification window for successful publish to JMP Live.
Your browser automatically takes you to JMP Live, where the published report appears.
Depending on what you published, you will either be taken directly to the analysis or to an index page where you can drill down to individual analysis pages.
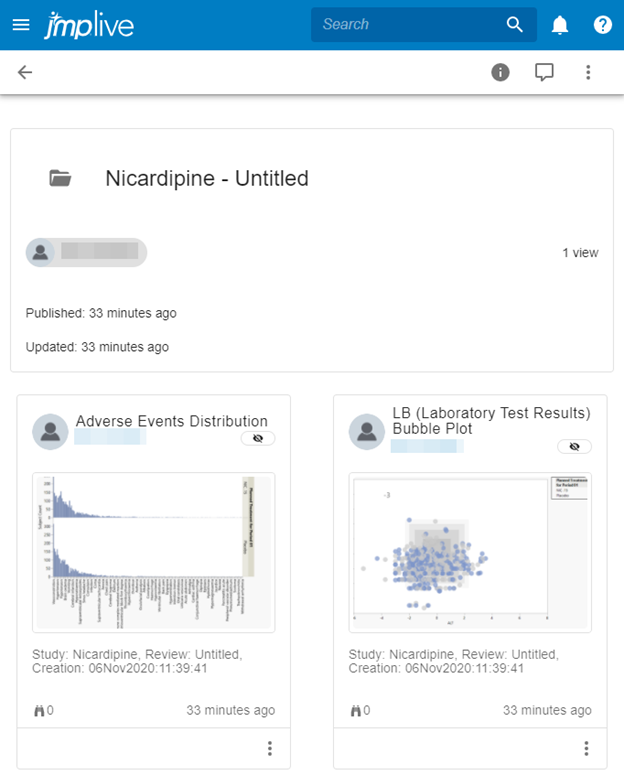 A JMP Live index page allowing navigation to individual report analysis pages.
On the analysis pages, data filters, column switchers, hover labels and platform-specific controls allow for interactive exploration of the results.
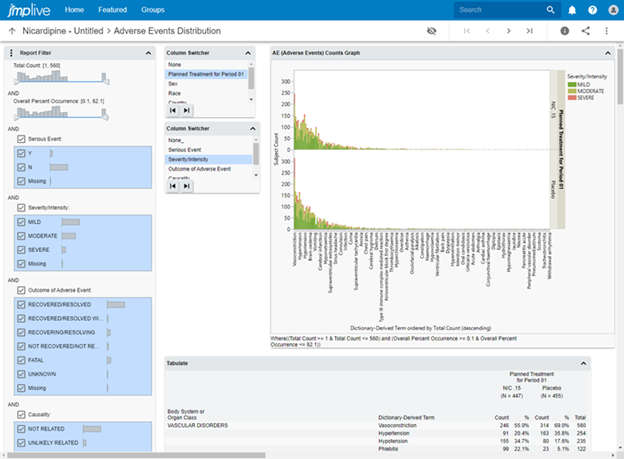 Adverse Events Distribution in JMP Live.
Click the Details button to view or edit the title, description and thumbnail, to view or download data tables, and write comments.
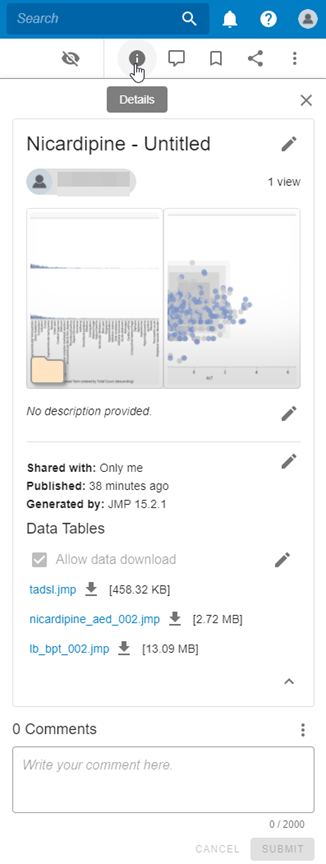 The Details pane in JMP Live.
As you can see, JMP Live reports are a secure, powerful and interactive complement to the existing options for sharing JMP Clinical results. Be sure to check out interactive examples of JMP Live reports (1, 2) on JMP Public.


You must be a registered user to add a comment. If you've already registered, sign in. Otherwise, register and sign in.